Equipment to be used:
- FMC 2600 with version 6.6.4
- FTD 2130 with version 6.4.0.10
The objective is to upgrade the FTD to version 6.6.4 through the FMC.
Before you begin, I recommend that you read the official documentation on the Cisco site for further reference. This guide explains how to prepare for and complete a successful upgrade of a Firepower Management Center deployment, including any managed devices:
Go to “Planning your Upgrade”.
Upgrade Procedure
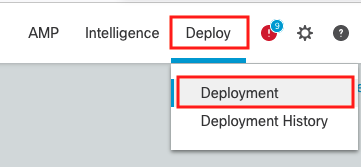
1.- Deploy configurations
Deploy -> Deployment -> Select device -> Deploy
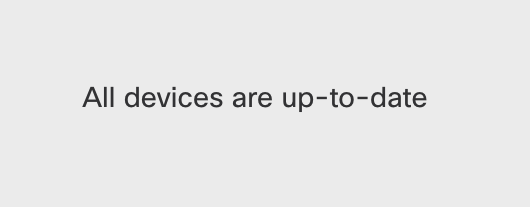
Make sure there are no pending updates for the sensor you are looking to upgrade. Deploy any available changes before starting the upgrade process.
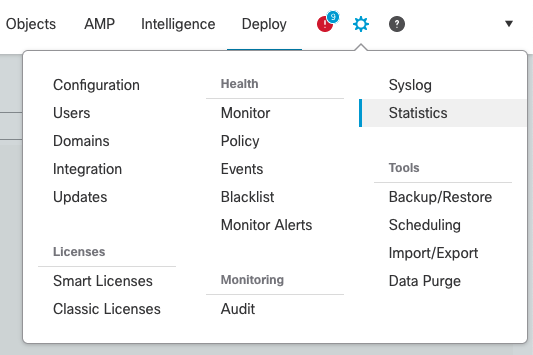
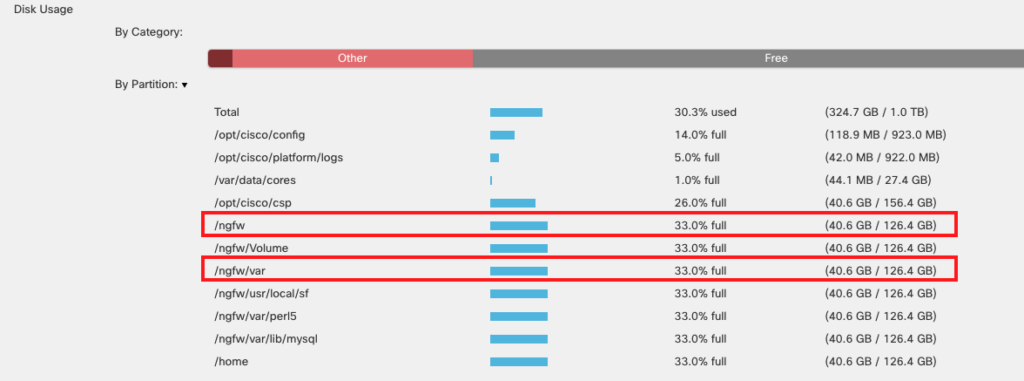
2 .- Check disk space
System -> Monitoring -> Statistics
It is essential to check the disk space to make sure that the minimum required is met. On Firepower 2100 v6.6.4 requires 10.1 GB in /ngfw/var, 23 MB in /ngfw, and 1 GB in the FMC.
For more information click here
3.- Check upgrade path.
Validate if version 6.4.0.10 can be upgraded directly to 6.6.4. According to the documentation if it is possible.
If the version you wish to upgrade is different from the one in this article, please visit the following link:
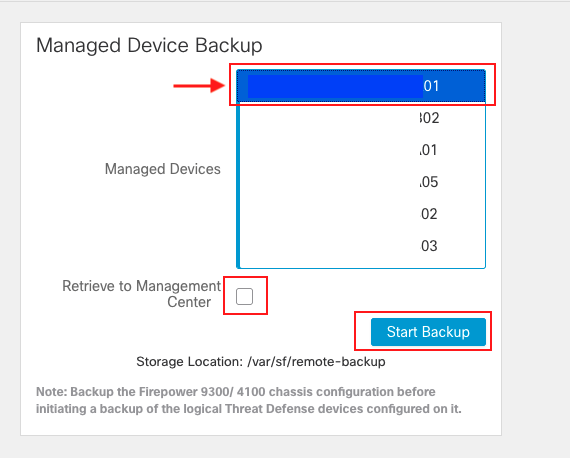
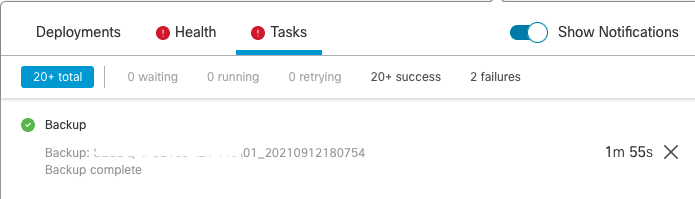
4.- Backup
System > Tools > Backup/Restore > Managed device backup > select device > start backup
Perform configuration backup of the FTDs:
5.- Download upgrade file
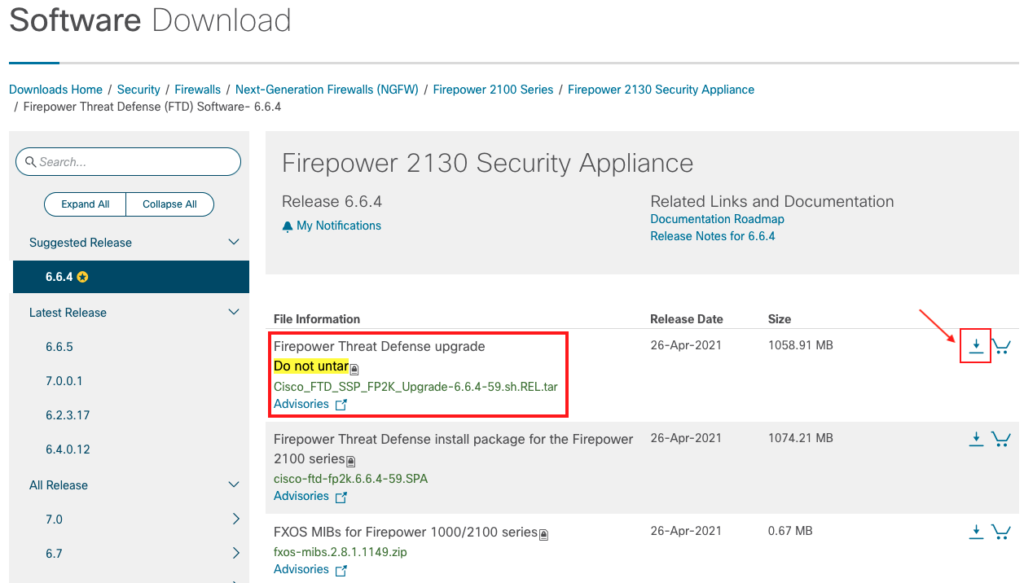
Firepower software packages are available on the Cisco Support & Download site.
Firepower Threat Defense https://www.cisco.com/go/ftd-software
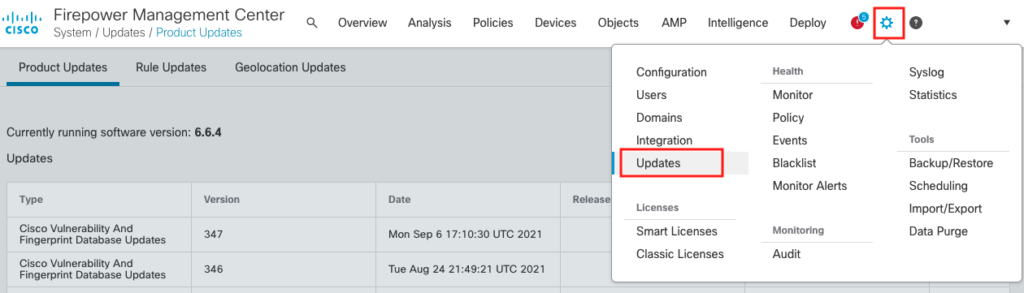
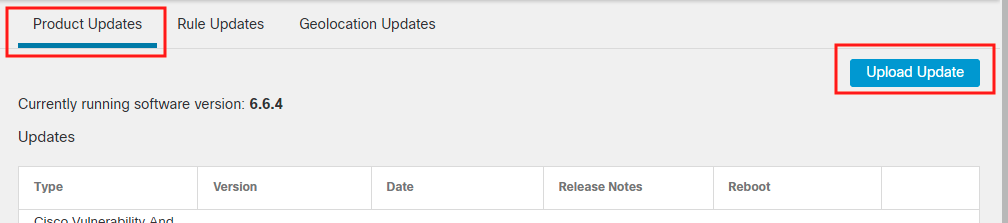
6.- Upload upgrade file to the FMC
System > Updates > Upload update


—
—
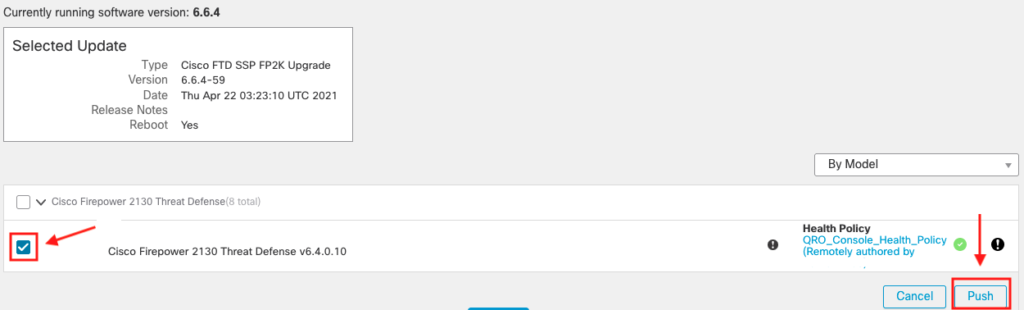
7.- Copy the upgrade file to FTD
System > Updates > choose file > Push > select device > Push
Locate the update file and click on Push or Stage update:

Select FTD to push upgrade file:
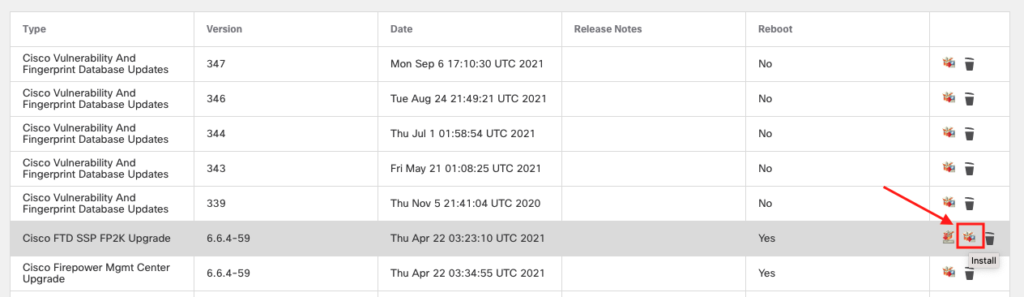
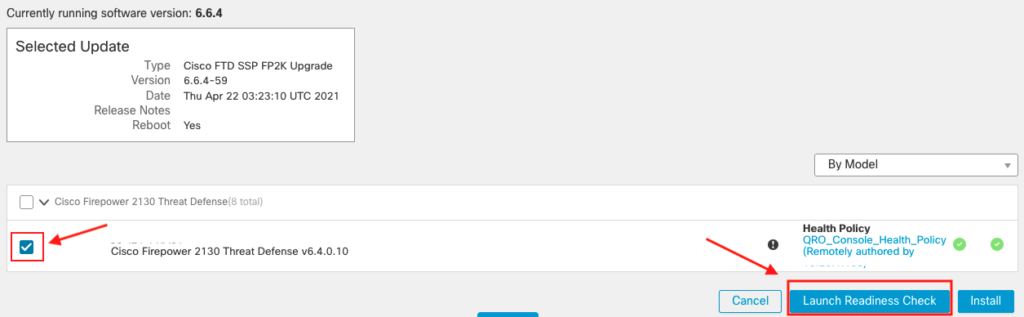
8.- Install upgrade in FTD
Locate the update file and click on Install.
Prior to installation, run the readiness check to verify that everything is correct for the upgrade.
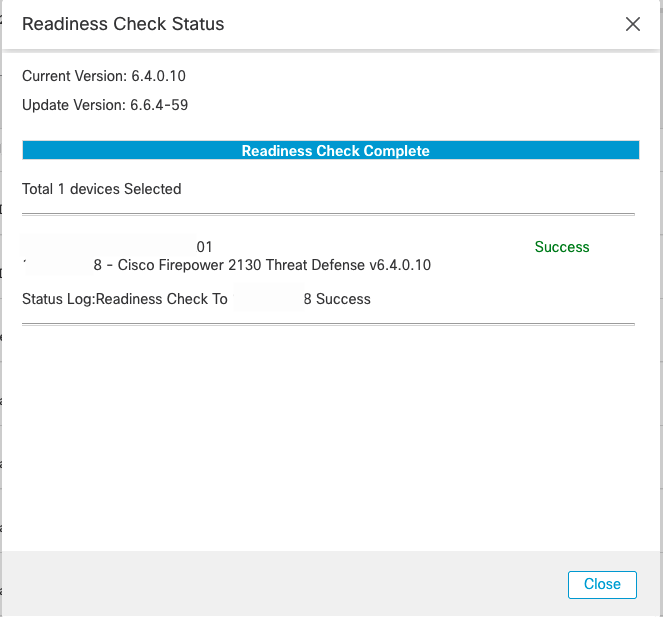
Wait for the Readiness Check to be completed:
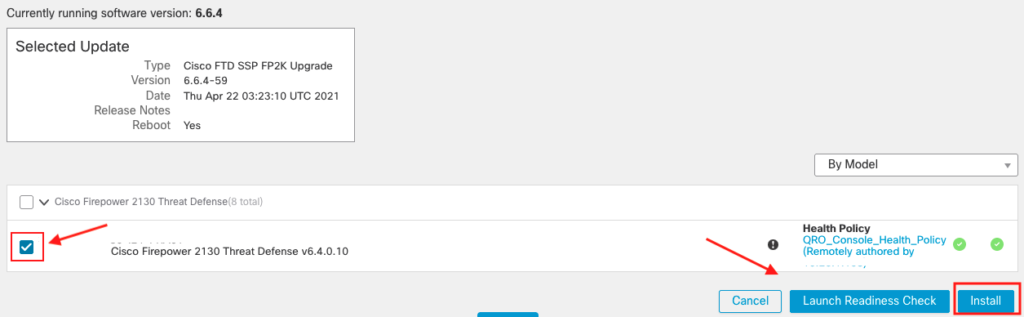
After success readiness check, go ahead with installation the upgrade:
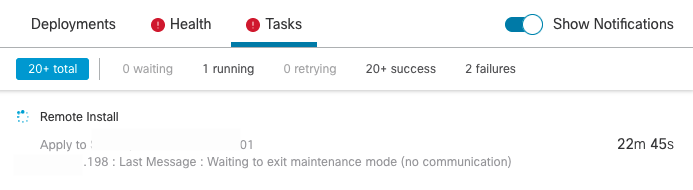
The estimated time for the upgrade is 21 minutes and 13 minutes for the reboot (for each sensor):
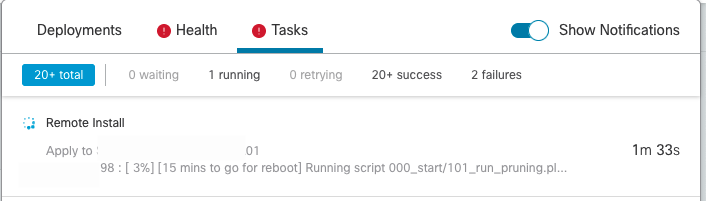

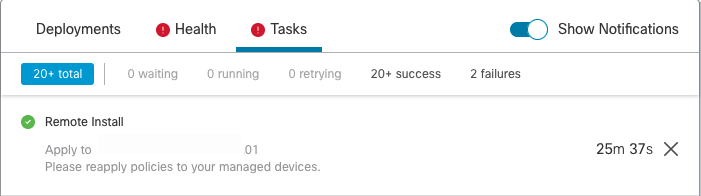
After restarting, the installation is completed:
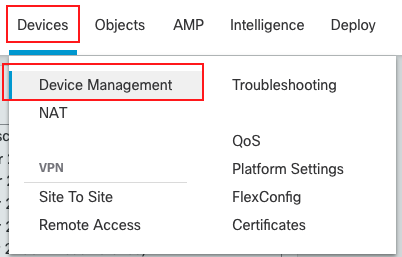
9.-Verify upgrade success.
After the upgrade completes, choose Devices > Device Management and confirm that the devices you upgraded have the correct software version.

10.- Redeploy configurations to the devices you just upgraded.
Deploy -> Deployment -> Select device -> Deploy
Deploy -> Deployment -> Select device -> Deploy