In this tutorial, we will update two ASA firewall 5585-X from CLI.
Actual version 9.8.4.20
Target version 9.8.4.44
Note: Perform these steps on the active unit
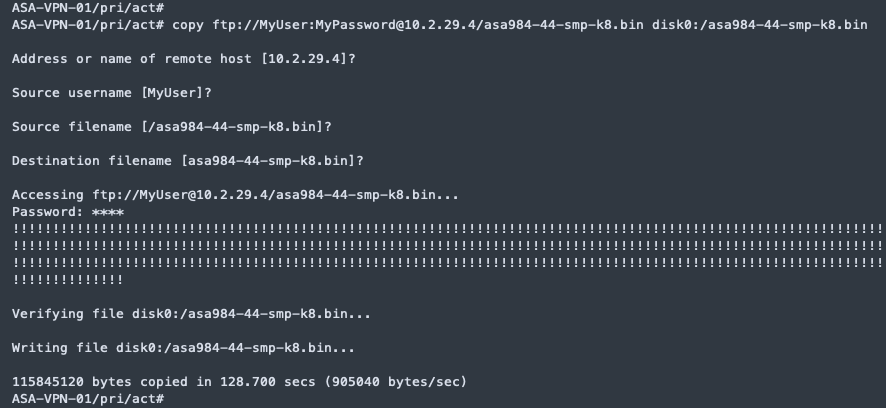
Step 1 – On the active unit in privileged EXEC mode, copy the ASA software to the active unit flash memory:
asa/pri/act# copy ftp://MyUser:MyPassword@10.2.29.4/asa984-44-smp-k8.bin disk0:/asa984-44-smp-k8.bin
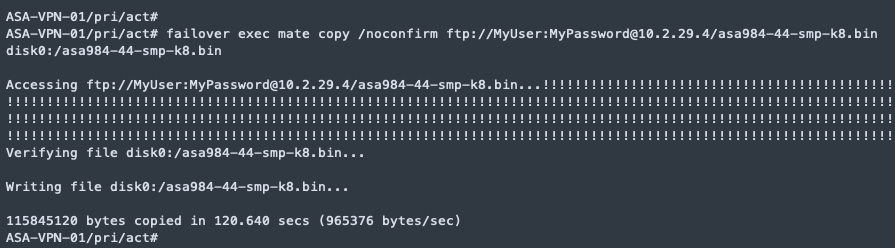
Step 2 – Copy the software to the standby unit; be sure to specify the same path as for the active unit:
asa/pri/act# failover exec mate copy /noconfirm ftp://MyUser:MyPassword@10.2.29.4/asa984-44-smp-k8.bin disk0:/asa984-44-smp-k8.bin
Step 3 – Access global configuration mode:
asa/pri/act# configure terminal
Step 4 – Show the current boot images configured:
asa/pri/act(config)# show running-config boot system
boot system disk0:/asa984-20-smp-k8.bin
boot system disk0:/asa964-36-smp-k8.bin

Step 5 – Remove any existing boot image configurations so that you can enter the new boot image as your first choice:
asa/pri/act(config)# no boot system disk0:/asa984-20-smp-k8.bin
asa/pri/act(config)# no boot system disk0:/asa964-36-smp-k8.bin

Step 6 – Set the ASA image to boot and save the new settings to the startup configuration::
asa/pri/act(config)# boot system disk0:/asa984-44-smp-k8.bin
pri/act(config)# write memory
Building configuration…
Cryptochecksum: a54401f5 14357f54 e3455251 eb1a3ef0
129373 bytes copied in 1.330 secs (129373 bytes/sec)
[OK]
These configuration changes are automatically saved on the standby unit.

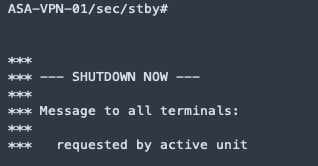
Step 7 – Reload the standby unit to boot the new image:
asa/pri/act(config)# failover reload-standby

In the Standby unit will appear this message:
Wait for the standby unit to finish loading. The Active unit will display a message that the firmware version does not match:
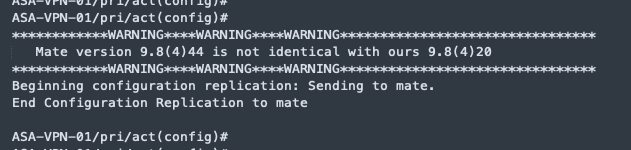
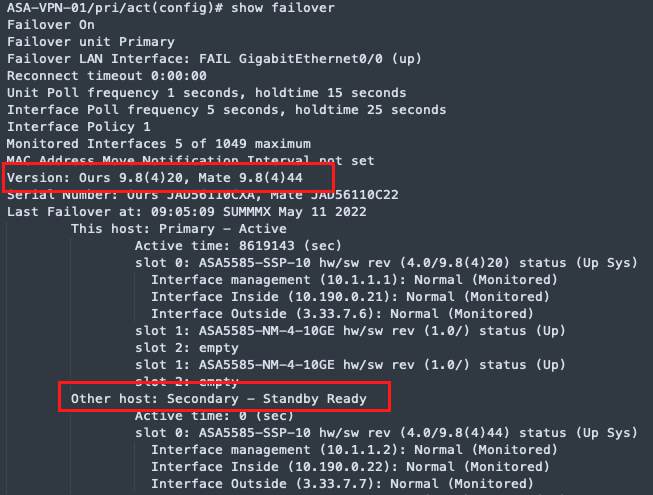
Use the show failover command to verify that the standby unit is in the Standby Ready state.
Step 8 – Force the active unit to fail over to the standby unit.
asa/pri/act(config)# no failover active

If you are disconnected from your SSH session, reconnect to the main IP address, now on the new active/former standby unit.
Step 9 – From the new active unit, reload the former active unit (now the new standby unit).
asa/sec/act(config)# failover reload-standby

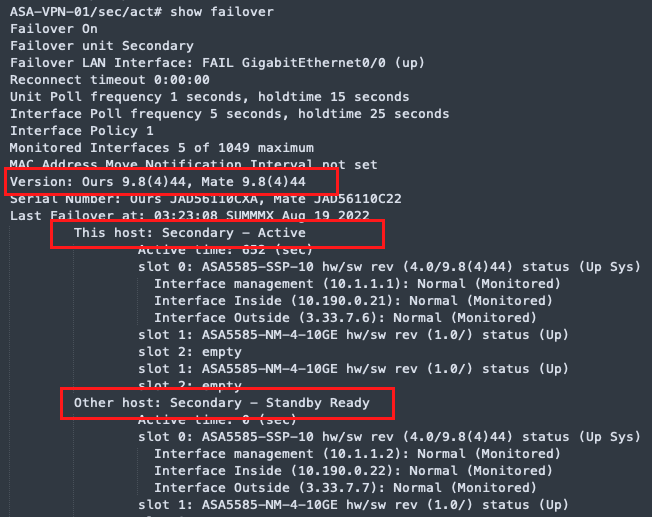
Step 10 -Lastly, validate with the show failover command that versions be the same on both ASA:
Regards!
Reference: